DIY Glowing Skeleton Costume Tutorial
Step 1: Gather your materials.
For this skeleton costume, I found a long-sleeve black shirt and black sweat pants from Wal-Mart. I also found some skeleton gloves and glow-in-the-dark skeleton knee socks in the dollar bin at Target. I also used white chalk and glow-in-the-dark fabric paint (3 bottles) found in the craft section of Wal-Mart or at Hobby Lobby.
Step 2: Draw your bones with chalk first!
I found a diagram of a human skeleton and used white chalk to recreate the bones on the black shirt and pants. Chalk was great for this task because I could easily rub it off and re-draw a portion if needed. Doing it this way first, I was able to get the scale of the bones right and make sure I didn't run out of space on the clothes. This can also be a good place to have your child try the costume on to make sure the bones are in the right places.
Step 3: Paint!
I don't have a lot of experience with fabric paint, so I was surprised at how much paint I actually used. I ended up buying three bottles of glowing fabric paint. Paint one bone at a time, outlining, then filling in. I did my best to get the paint an even thickness, but you can see on the pants that one side is thinner than the other. It still glows like I want, so I decided not to worry too much about that. The bottle says that the paint will take 4 hours to dry, but obviously, this depends on the thickness. Mine took 5 or 6 hours to dry since I was going for complete coverage. Keep in mind that with this much paint, it will be somewhat stiff when dry.
And you're done! See, I told you it was quick. Of course, if you're unable to find the socks and gloves at Target, you might feel the need to paint those, too. For trick-or-treating, we plan to paint Eddie's face using glow-in-the-dark face paint.
DIY Backson Costume
Step 1: Gather your materials.
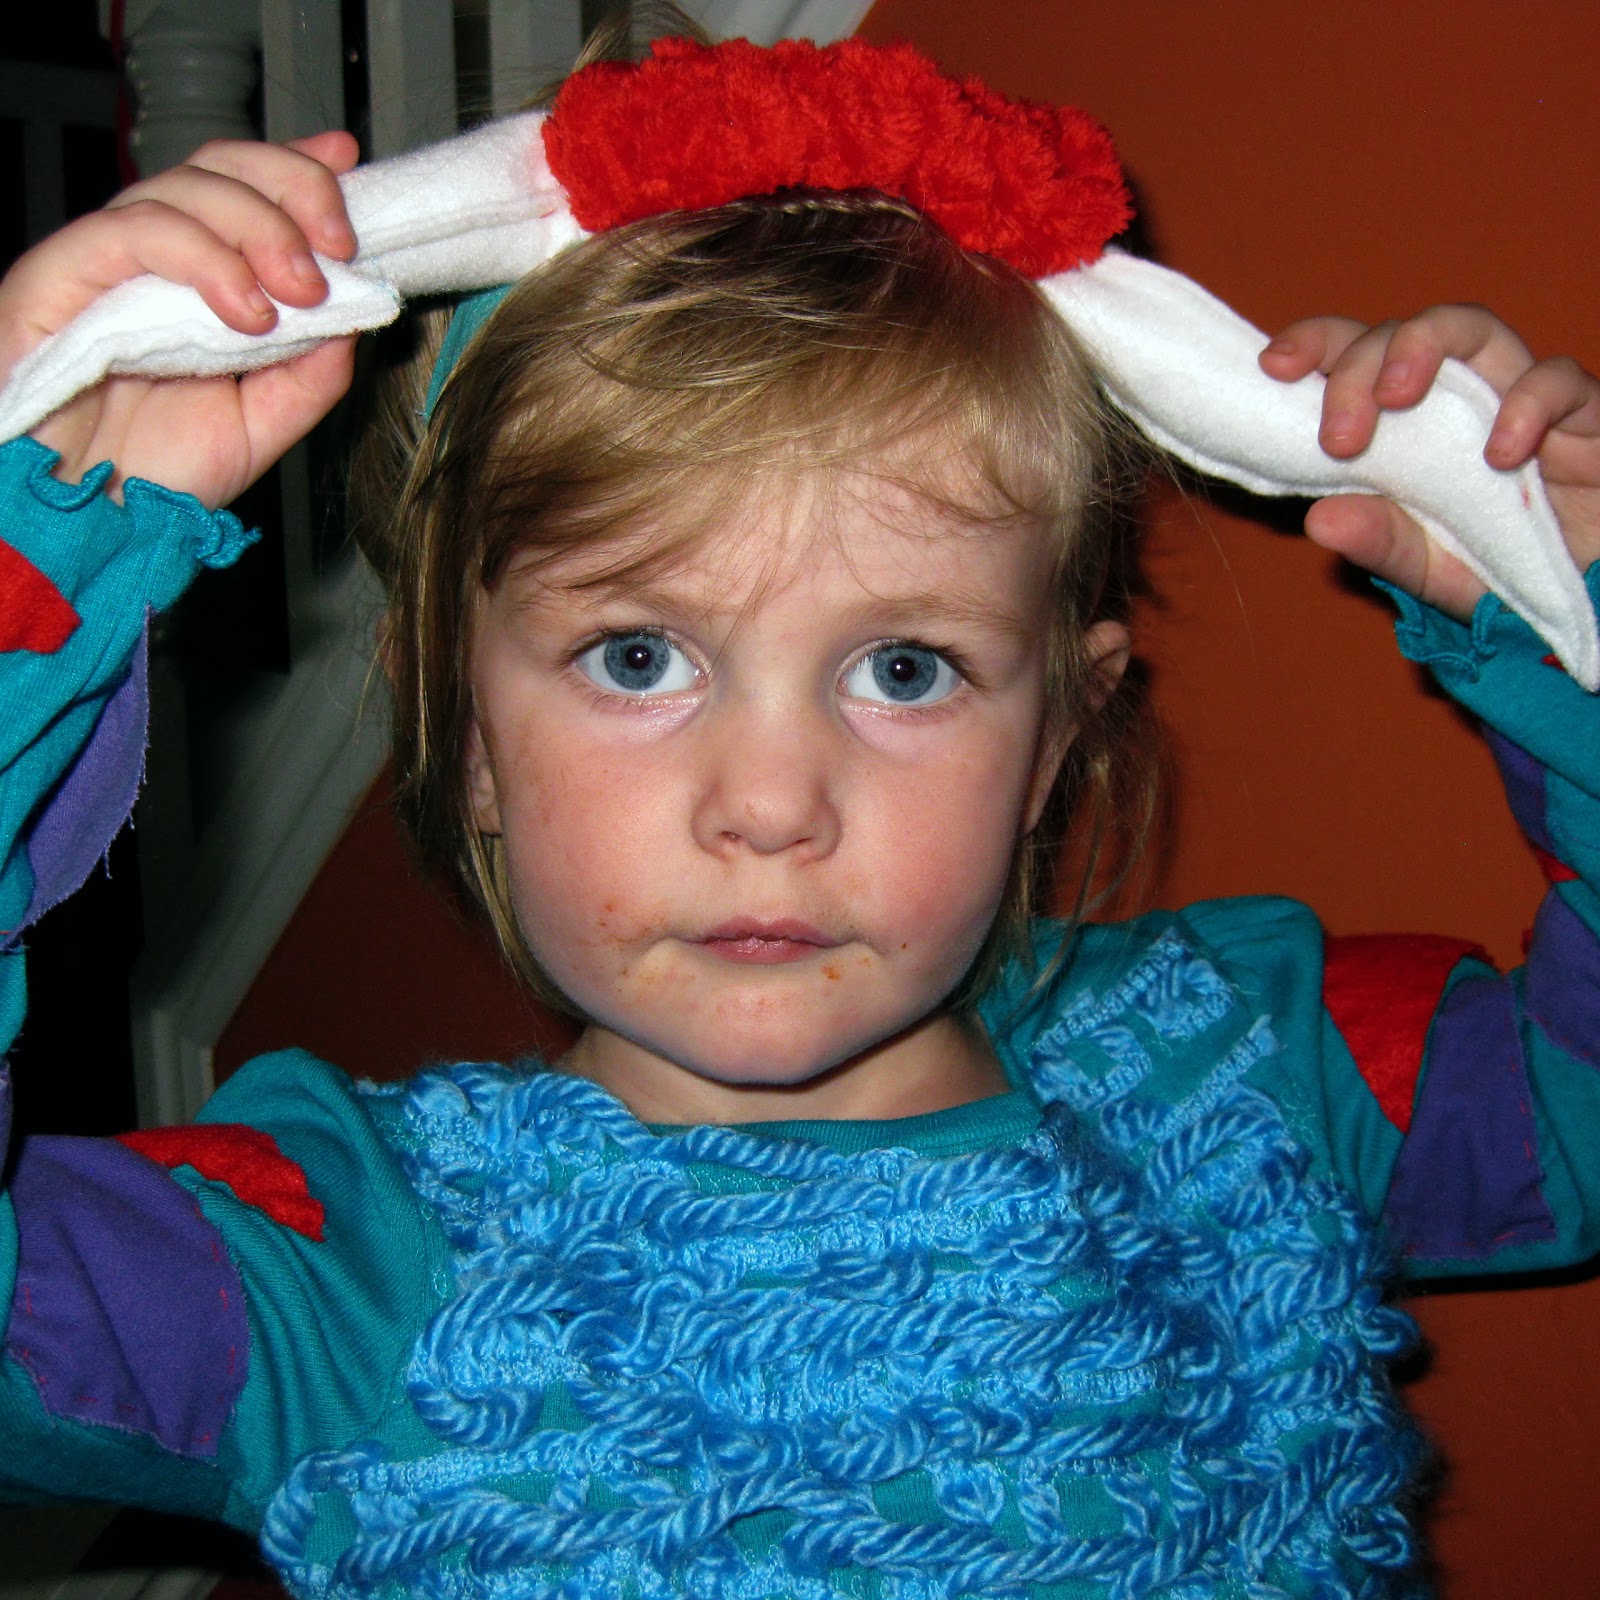
For the Backson, I found a pair of purple velour pants at Wal-Mart that were perfect. I also purchased an inexpensive turquoise t-shirt to use as the base for the top. The top consists of the t-shirt, blue yarn, red felt, and purple fabric scraps. The tail consists of purple fleece and poly-fil batting. The horns consist of non-roll elastic, red minky fabric scraps, white felt, and poly-fil batting.
Step 2: Construct the top.
For the top, I used chunky blue yarn to create a "furry" effect. I looped the yarn in small loops across the shirt in rows and pinned it in place. Then I sewed each row down with my machine using a looping stitch. You could probably do a straight or zig zag stitch that would work just as well. I trimmed off the excess yarn at the ends. I tried to space the looped rows evenly.
When I finished, I thought it looked too sparse, so I added more loopy rows between the original rows to bulk it up. The end result is a loopy, chaotic, fuzzy blue "fur."
For the sleeves, I cut triangles of red felt and used some purple scraps I had on hand. I hand stitched the red triangles on first, spacing them out so there would be four stripes per sleeve. Then I did the same with the purple scraps so they alternate.
Step 3: Construct the tail.
For the tail, I used a tutorial by
Jessica from Running with Scissors found on Tatertots and Jello. Her tutorial is to make a dragon tail, so I made a few simple modifications to turn mine into a Backson tail.
To make the tail, follow Jessica's tutorial for the cutting, but leave off the spikes. Then, when pinning the body of the tail together, add a couple of turns, like this:
Now, when you sew down the top and bottom of the tail, make sure you include those gathered areas in your sewing. You don't want to end up with holes instead of turns. It looks messy, but this part will be on the inside of the tail.
Then, complete the tail as Jessica says. Once you stuff your tail with batting, it will stick out (the more batting, the stiffer it will be) and you'll be able to see the shape better.
Step 4: Construct the horns.
Since Violet is a toddler/preschooler, I knew I needed something simple and comfortable so that she would leave the horns on her head. So I opted to make them a headband. I used some 1-inch non-roll elastic that I had on hand (originally purchased at Joann). I cut my horn shapes out of white felt, then sewed around the edges on my machine with contrasting thread (but leave the base of each horn open). I stuffed each horn full of batting, being careful to cram it down into the very tip. Then I hand stitched each horn onto the elastic.
Before sewing the second horn on, make sure you see how it looks on your kid's head. I originally put my horns too far apart and had to remove one and move them closer together. If they're far apart, they will stick out to the sides more.
Once the horns were attached to the elastic, sew the ends of the elastic together to form a headband. Then, to add the "mop of red" hair on top, I hand stitched a rectangle of red minky onto the headband, gathering it up as I went. The gathers helped add a little bit of shape to the "hair" so that it doesn't just lay flat.
Step 5: Accessorize.
I forgot to get photos of this part, but the last thing a Backson needs is some purple gloves with black fingernails painted on. For older kids, you also might be able to add a nose ring, but I'm sure Violet would not agree to wear one.
And you're done!
{Linked on
Sewlicious Home Decor,
Be Different...Act Normal,
With A Blast,
Get Your Crap Together,
A Night Owl Blog,
C.R.A.F.T.,
Sew Can Do,
Scattered Thoughts of a Crafty Mom,
Three Mango Seeds,
Carrie This Home,
Huckleberry Love,
Sumo's Sweet Stuff}